
Here’s a quick update to keep you in the loop. I haven’t progressed at all due to the delay of the irons, it turns out that LN never had any to begin with yet it was listed on their site. So questions have been asked why was it advertised in the first place but no one has an answer, so I’ve ordered the 1 1/8 instead. They should of arrived today but hoping tomorrow they will.
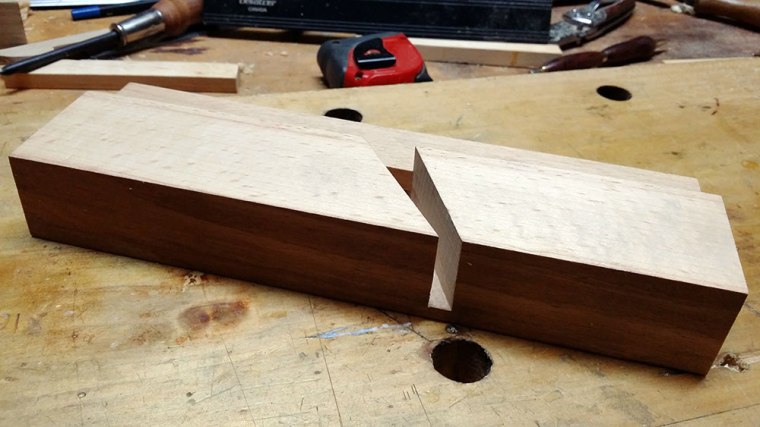
As the width of this plane has been thicknessed to exactly 1 1/4 I will need to remove 1/8 to accept the new iron from the escapement side. Then I can proceed to making a wedge.
I went ahead and built this wedge planing holder, the strips has about a 15 degree spread. 
As you can see where I stuffed up on the mouth, it’s a bit too big but if it does cause ay problems in the future I can always build another one.
But like I said before it will be a very rare occasion that I will actually use a plane this size and what’s the bet I now jinxed myself and end up using it more often than not.
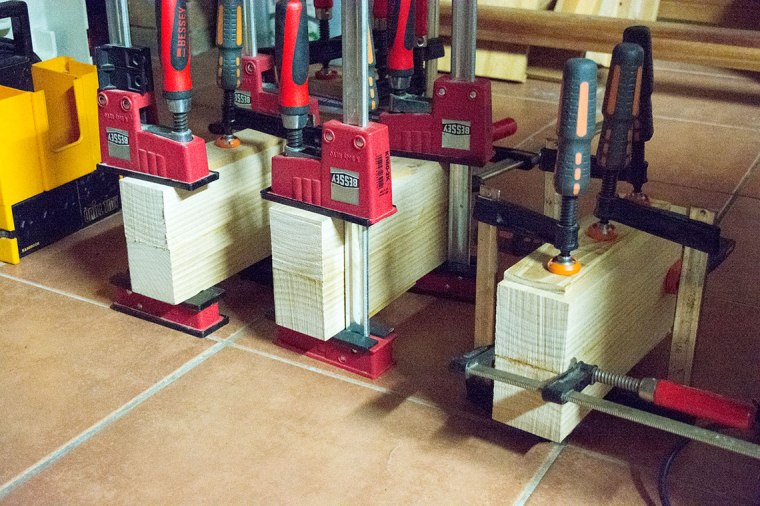
Today I bought some pine, not structural but furniture grade. If I bought structural then I would have to wait for them dry which would take a couple of months. These will be prototypes, if I stuff up on them I will learn from those mistakes like I did with the mouth opening. And if I do stuff up which I’m confident this time around I won’t, it won’t hurt as much on the pocket as Beech does. I should of done this before but I was confident even though I haven’t done one for a 1 year. So today I planed them all down and laminated them. They will take 24 hrs to dry and the last glue up was around 6pm, so I’ll hold off till Saturday. I actually will do one just to see how this glue will work in a 12 hour period. I know Patrick Edwards did say it’s best to wait 24hrs but it should be fine after 12hrs and it is summer here, winter I would definitely wait it out the full 24hrs.
I was surprised though how little glue I actually needed to make 4 blanks, the pot was 3/4 full and a 1/4 was still left over which I threw in the freezer after I spent a great deal of time trying to convince my wife that its natural stuff. It would of been ok if I did leave it on the bench, it would take atleast 3 weeks before it went off but it’s still best to keep it fresh and chuck it in the fridge.

Don’t ask me what the LH stands for, who knows what went through my head when I typed it.
This last photo is the beech blanks all glued up ready to go. The only downside to using this hide glue is the colour contrast you see here. Some parts of the plane you don’t see the glue line and other parts you do. I think a white PVA that dries clear would mask that glue line nicely, but comes time when I rub some finish on it this colour contrast may disappear.

Here is the iron blank I’ll be working with next.

It’s O1 tool steel that’s tapered to accept the wedge.
The numbering system are based on the radius and blade width, each planemaker can vary using this system. The antique round I have has a 7/16″ radius and width blade but the maker stamped a number 8 which doesn’t correspond to other moulding planes that size.
So I will be using the Clarke & Williams version which I believe was common in the 18th century. So the number 8 would actually be a number 7. I think this will be more period appropriate.
It’s a pity that these irons were delayed as I would of been finished by now, but then again what’s the rush. It’s not like I can afford to buy these irons all at once.

Nice work Salko!
LikeLike
Thanks Brian
LikeLike
…and the anticipation builds. Great work so far.
LikeLiked by 1 person
yes it certainly does, cheers mate.
LikeLike